
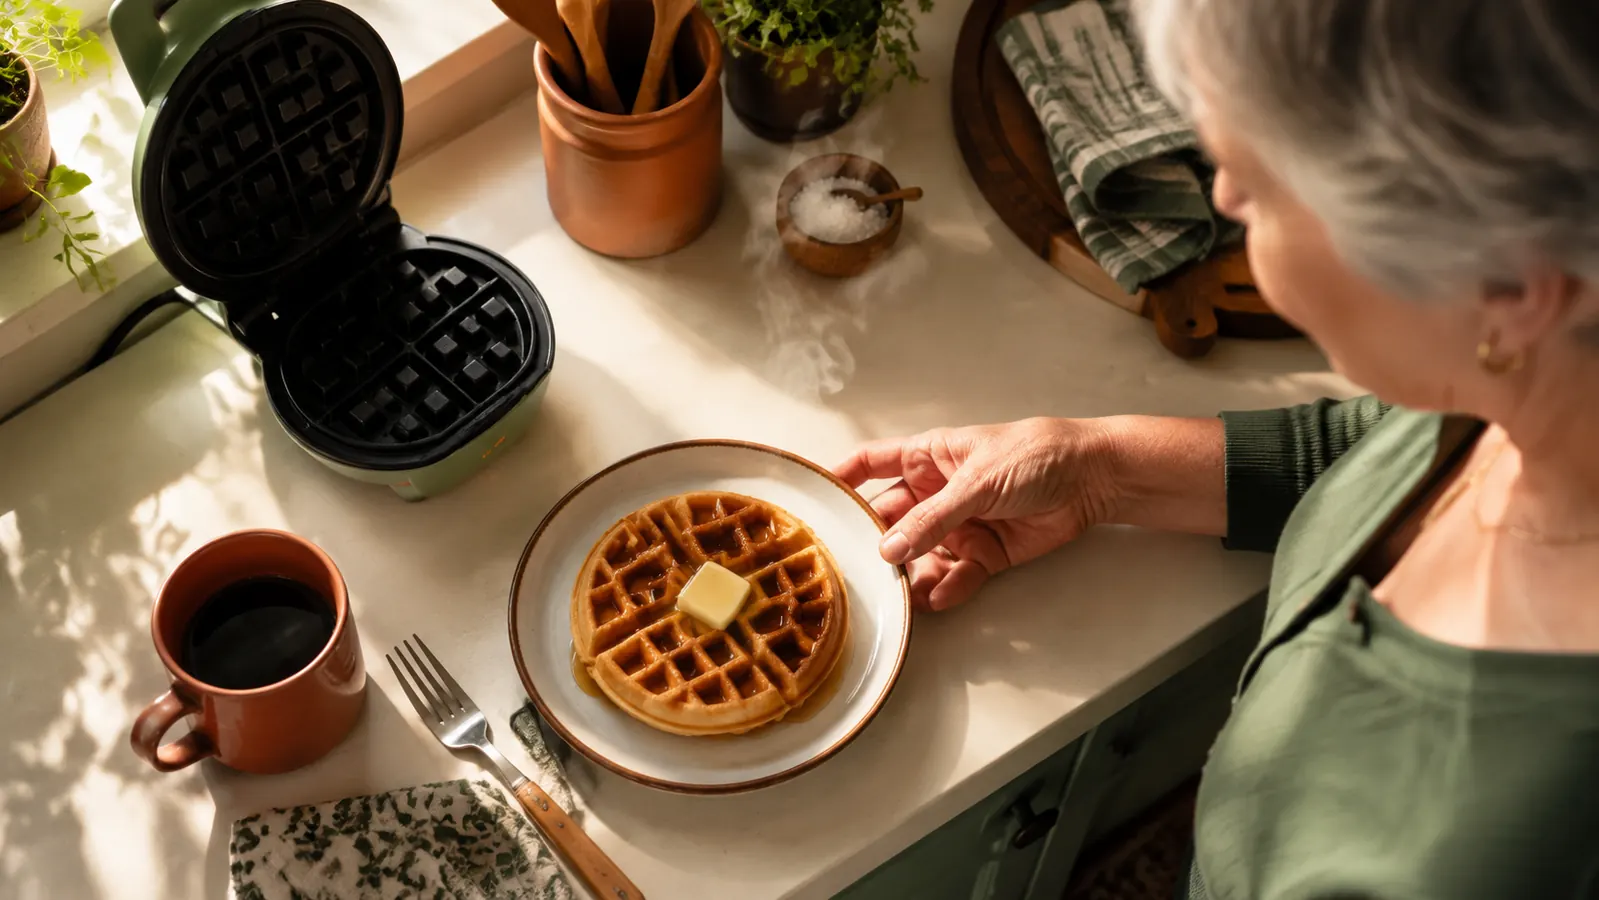
For years I made a full batch of waffle batter every Sunday because that's just what the recipe called for, even though it was usually just me and sometimes my husband at the table. Two of us would eat two waffles each, and the rest sat in a bowl until I either forced myself to eat waffles for three days straight or scraped it into the trash. When we downsized and I got serious about not wasting food, that habit had to go.
The fix wasn't a smaller appetite. It was a smaller waffle maker and a batter ratio I could scale down without doing algebra at 7am. I use a DASH Mini Waffle Maker, the little red one that's barely bigger than a saucer, and I've gotten this down to a five-minute routine that makes exactly one waffle with almost no batter left over. Here's the whole process, step by step, the way I actually do it most mornings.
The waffle maker that makes portioning this easy
The whole method below depends on having a waffle iron sized for one serving instead of four. This is the one I use every time, and it's small enough to live in a cabinet instead of taking up counter space.
Amazon Check Today's Price on Amazon →Step 1: Mix a small-batch batter (about 1/3 cup dry mix)
Most boxed waffle mixes are written for a full-size waffle iron and give you four or more waffles per batch. To make just one, I scale everything down to roughly a third of the standard recipe. If your mix calls for 2 cups of dry mix, 2 eggs, and 2 cups of liquid, I use about 1/3 cup dry mix, a scant tablespoon of beaten egg (I beat one whole egg in a small cup and use about a third of it), and 1/3 cup of milk or buttermilk.
I keep a small mixing bowl, the kind meant for a single serving of oatmeal, just for this. Whisk the dry mix and liquid together until it's mostly smooth with a few small lumps left. Overmixing makes waffles tough, so I stop as soon as the streaks of flour disappear. If I'm using a homemade batter with baking powder, I let it sit for about 2 minutes before pouring so the leavening has a moment to start working.
The egg fraction sounds fussy, but it's the one part of this that actually took practice. I now just crack one egg into a small ramekin, whisk it with a fork, and eyeball a third of it into the batter bowl. The rest goes into whatever I'm scrambling that day, so nothing is wasted even at the egg stage.
If you'd rather skip the fractions entirely, a simpler trick is to whisk a full recipe's worth of dry ingredients into a mason jar ahead of time and just spoon out what you need. I do this on Sunday afternoons now, about four spoonfuls of dry mix per single serving, so on a weekday morning I'm only measuring one wet ingredient instead of doing math with a quarter-teaspoon of baking powder before I've had coffee.
Step 2: Preheat the DASH mini waffle maker fully before pouring
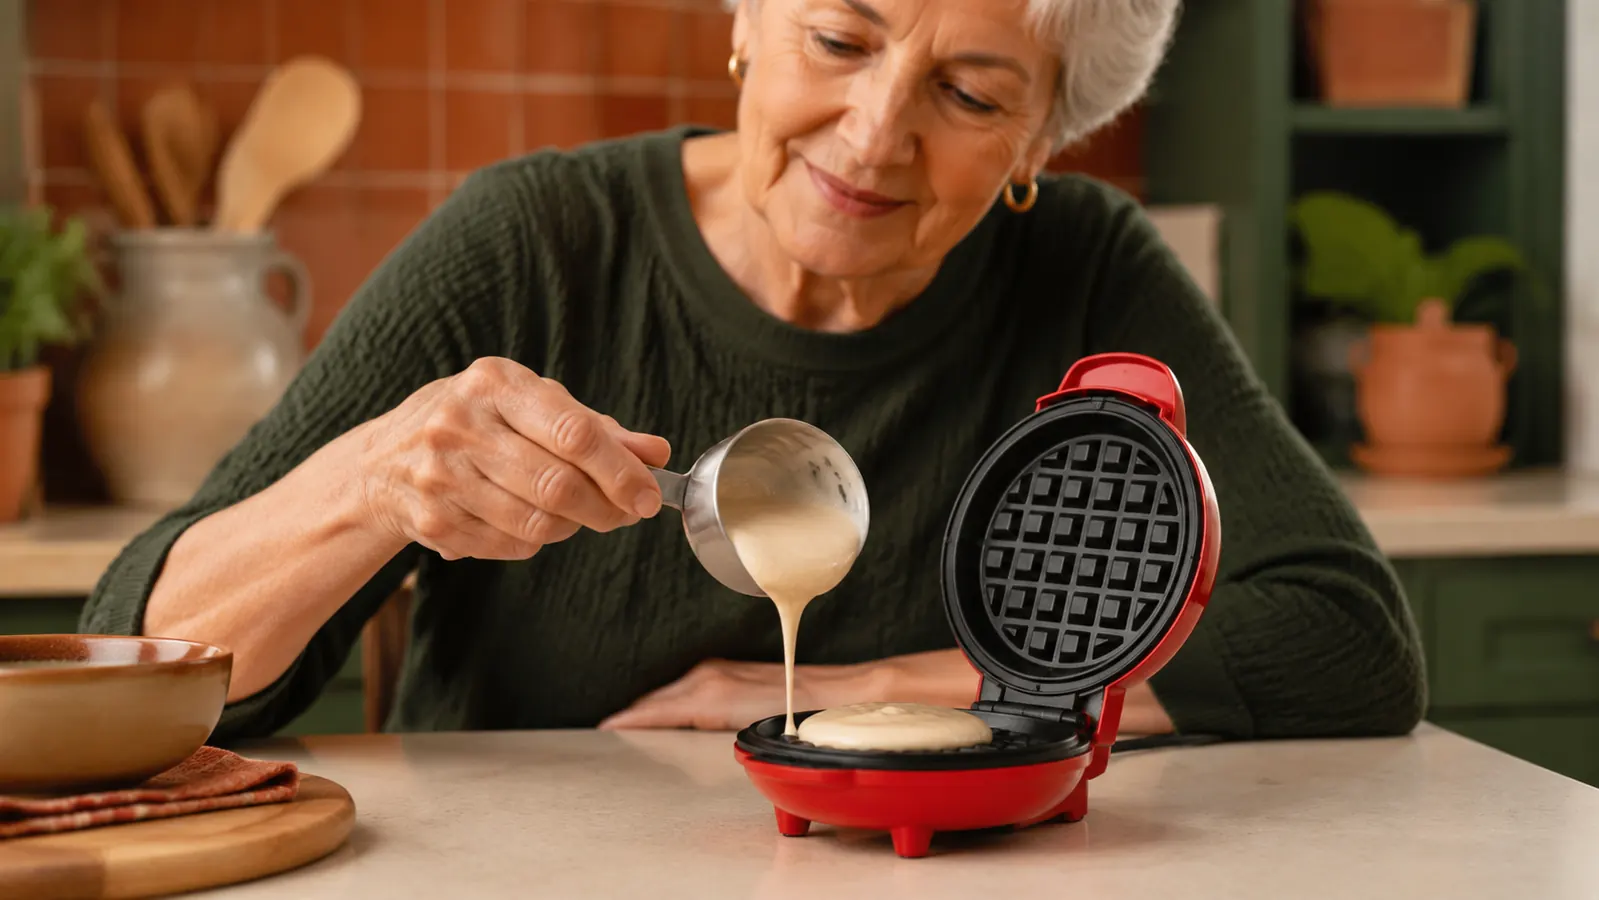
This is the step people skip and then wonder why their waffle comes out pale and a little gummy in the middle. Plug in the DASH mini waffle maker and let the indicator light finish its cycle, usually 3 to 5 minutes. Don't pour batter the second it's plugged in. A fully preheated plate is what gives you that crisp, evenly browned exterior instead of a waffle that steams instead of crisps.
While it's heating, I brush the plates lightly with melted butter or a neutral oil even though mine is nonstick. It's not strictly necessary every time, but it makes cleanup faster and gives the edges a slightly crispier bite. If you're using a spray, do it before the plate gets hot, not after, so you're not spraying near a hot surface.
I also use this waiting time to get my toppings ready, because the DASH heats up fast once it's plugged in and moves even faster once it's hot. I'll slice a few strawberries, warm a small dish of syrup in the microwave for 15 seconds, or measure out a spoonful of peanut butter. That way the waffle goes straight from the iron to a plate that's already set up, instead of sitting there cooling off while I hunt through the fridge.
Step 3: Pour about 1/4 cup of batter, no more
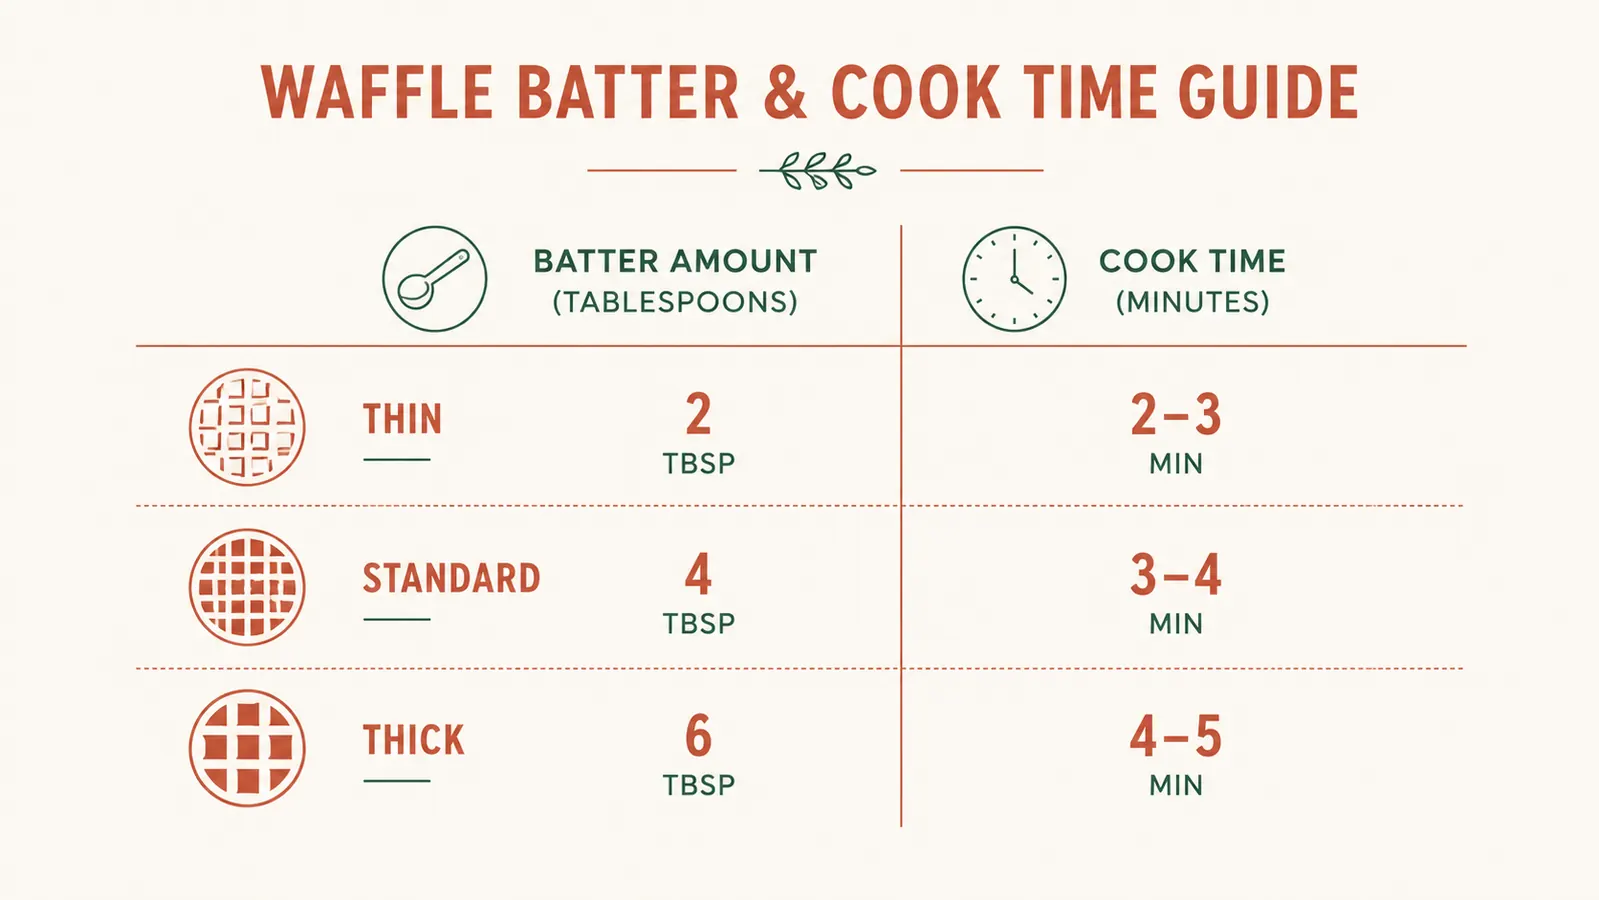
This is the number that took me a few overflowing, messy mornings to figure out. For a mini waffle maker with a roughly 4-inch cooking surface, 1/4 cup of batter is the sweet spot. Pour it into the center of the lower plate and let it spread on its own for a second or two before closing the lid. Don't spread it with a spoon, the weight of the lid closing will push it out to the edges for you.
If you pour more than 1/4 cup, you'll get overflow out the seams, which is messy and also means you're wasting batter onto the counter instead of eating it. If you pour less, you'll get a waffle with thin, underfilled patches. I measure with an actual quarter-cup measuring cup the first several times until I could eyeball it, and now I just pour straight from the mixing bowl since I know what a quarter cup looks like in that bowl.
Thicker batters, like ones made with buttermilk or a bit of cornmeal, spread more slowly than thin ones, so I use closer to a heaping 1/4 cup for those and let it sit an extra second before closing the lid. Thinner batters spread almost on their own, so I'm careful not to overpour those since they'll find every gap in the seal.

Step 4: Close and cook for 3 to 4 minutes without lifting the lid
Close the lid and resist the urge to check on it. Every time you lift the lid early, you tear the waffle in half because the top and bottom haven't finished cooking into one piece yet. My DASH cooks a single waffle in 3 to 4 minutes. Steam escaping from the sides is completely normal in the first minute or two. When the steam slows down to just a thin wisp, that's usually your cue that it's close to done.
I set a timer for 3 minutes the first time I make a new batter, then check by gently trying to lift the lid. If it resists at all, it's not ready, close it and give it another 30 seconds. Once the lid lifts freely and the waffle stays in one piece attached to the bottom plate, it's done. Overcooking by even a minute turns a mini waffle from golden to genuinely hard, since there's so little batter mass to begin with.
The doneness cues change a little depending on what is in the batter. A whole wheat or oat flour batter tends to look done on the outside a touch before it actually is, since the darker flour browns faster. If I am using a heartier flour, I add about 15 extra seconds beyond what the steam and lid resistance are telling me, just to be sure the middle is not gummy.
Step 5: Lift out with a fork or silicone-tipped tongs, not metal
The nonstick coating on the DASH is what makes this whole single-serving thing painless, so don't scratch it up prying the waffle out with a metal fork or knife. I use a plastic fork or a small silicone spatula, sliding it gently under one edge and lifting straight up. A properly cooked waffle should release with almost no resistance. If it's sticking, that's usually a sign it needed another 30 seconds to finish, not that you need to pry harder.
Set it on a small plate and let it sit for about 30 seconds before adding butter or syrup. Straight off the iron it's soft in the middle for a moment, and it firms up into that proper waffle texture as it cools slightly. I learned this one from my husband, who used to complain his waffle was soggy when really he was just impatient.
The whole point of a mini waffle maker isn't just the size of the waffle, it's that the batter math finally matches how many people are actually sitting at the table.
What Else Helps
A couple of small habits made this routine even smoother once I had the basic steps down. First, I keep a dry mix premixed in a small jar, just flour, baking powder, a pinch of salt, and a spoonful of sugar, scaled to single-serving portions. That way I'm only measuring liquid and egg in the morning instead of three dry ingredients. Second, if I know I want two waffles, I don't double the batter and cook two at once, since the DASH plate can only fit one at a time. I mix a full single batch, cook it, then mix a second small batch while the first one is cooling. It sounds like more work, but it's actually faster than trying to eyeball a double batch and ending up with the same leftover problem I started with.
Cleanup is genuinely quick if you don't let batter sit and dry on the plates. I wipe mine down with a damp paper towel while it's still slightly warm, right after unplugging it, and the nonstick surface comes clean without soap most days. If something did stick, a soft sponge and warm water handles it. I never submerge the base in water since the heating element is underneath the plates, just wipe the cooking surface itself.
Storage is the other reason this whole system works for us. The DASH stands on its edge in a cabinet next to the baking sheets, taking up less room than a single dinner plate. My old full-size waffle iron used to live on the counter permanently because it was too heavy and awkward to lift in and out of a cupboard every weekend. Being able to tuck the little red DASH away means the counter stays clear, which matters more than I expected once our kitchen got smaller.
This whole approach also works for savory single servings, not just breakfast sweet waffles. I've made a small cornbread-style batter in mine for a side with chili, and a leftover mashed potato waffle once when I had exactly enough potatoes for one and didn't want to heat up the oven. The ratio logic is the same either way: about 1/4 cup of batter, fully preheated plates, 3 to 4 minutes, don't peek.
And if you do occasionally end up with a little extra batter, don't force yourself to eat a second waffle you don't want. I pour any small leftover amount into a greased muffin tin cup and bake it alongside whatever else is in the oven that day for a strange but genuinely good little waffle-muffin. It's a better use of a couple tablespoons of batter than letting it sit in the fridge until it's not worth saving anymore.
Ready to stop making batter for four people who aren't there
If you've been eyeballing a mini waffle maker but weren't sure it was worth a spot in the cabinet, this is the one that made single-serving mornings actually simple for me. Small enough to store, easy enough to clean in under a minute.
Amazon Check Today's Price on Amazon →