
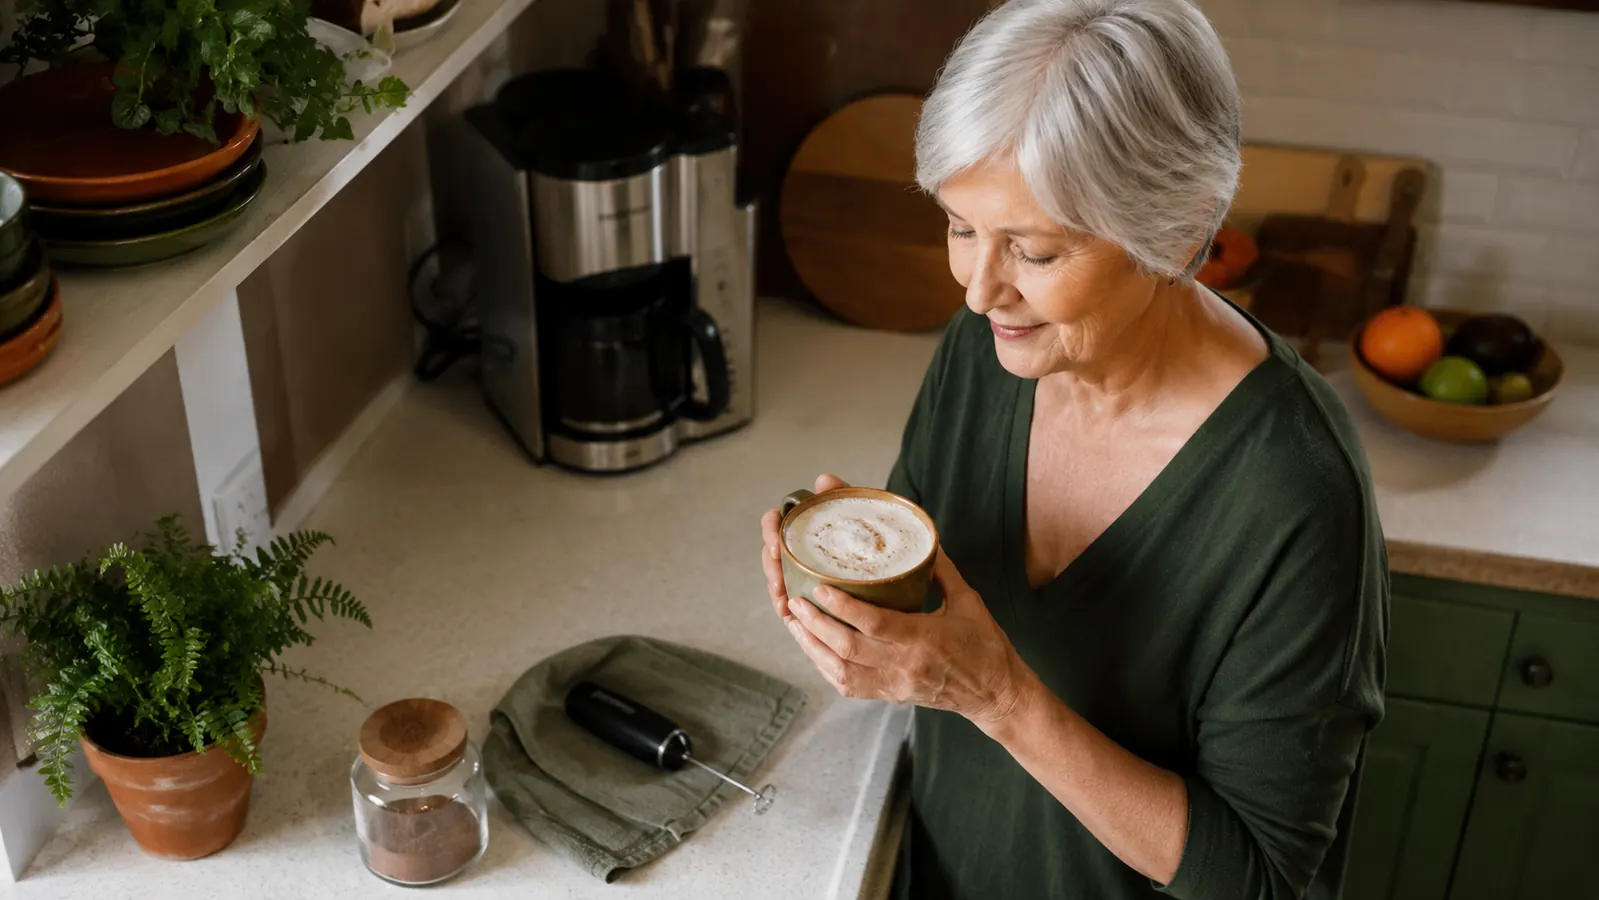
I used to think foam like that only came from a machine bolted to a counter with a steam wand hissing away. Then my daughter left her handheld milk frother at my place after a visit two winters ago, and I never gave it back. It's a Zulay, it cost about nine dollars, it runs on two AA batteries, and it fits in a kitchen drawer instead of taking up counter space I don't have anymore. Once I figured out the actual technique, which took me about a week of slightly lumpy failures, I've made a foamed latte at home almost every single morning since.
This isn't a review of the gadget itself. It's the method. The frother is simple, a little whisk head spinning fast on a wand, and simple tools are unforgiving if you skip a step. Milk temperature, milk type, container shape, and how deep you hold the whisk all matter more than people expect. Get those right and you get real foam, the kind that holds a shape and sits on top of your coffee instead of disappearing into it. Get them wrong and you get warm milk with a few bubbles on top, which is not the same thing, and it's the difference between feeling like you made a real latte and feeling like you just stirred your coffee a little harder than usual.
The whole method depends on the right tool
Everything below assumes a small, fast-spinning handheld frother like the one I use. If you don't have one yet, this is the one that's been on my counter for two years.
Amazon Check Today's Price on Amazon →Step 1: Pick the right milk (and warm it the right way)
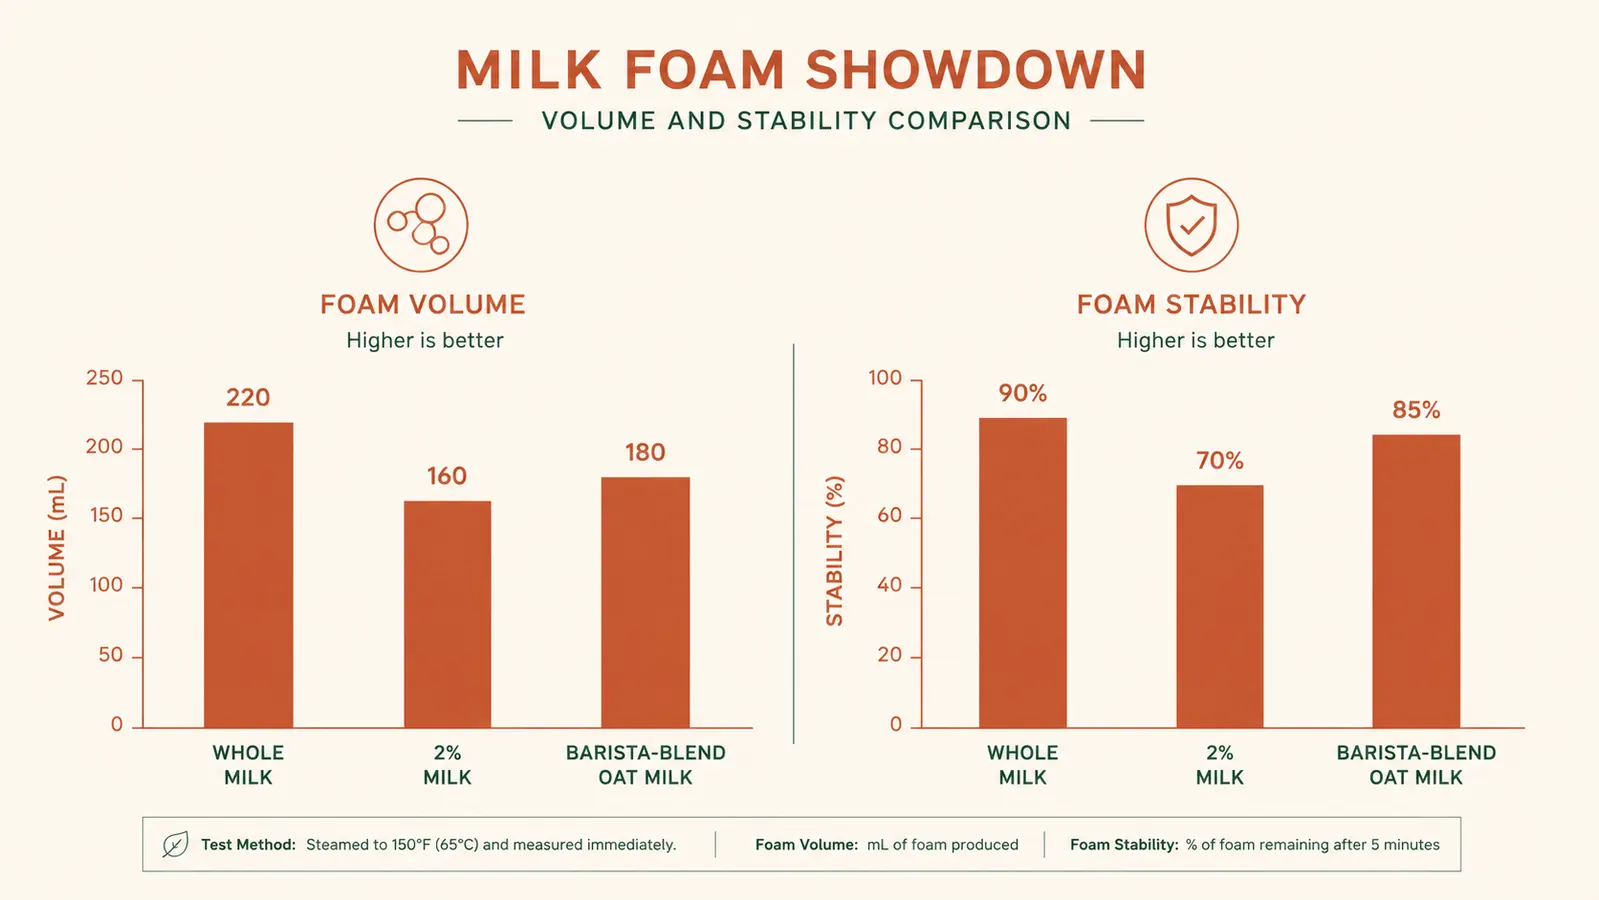
Whole milk froths the easiest because fat stabilizes the bubbles. I use whole milk most mornings. Two percent works fine and gives a slightly lighter foam. Skim milk actually foams up bigger because there's no fat to weigh the bubbles down, but that foam collapses fast, within a minute or two, so it looks impressive and then deflates before you've finished stirring in sugar. If you're dairy-free, look specifically for a milk labeled 'barista blend,' oat milk especially. Regular oat milk or almond milk often splits or foams thin and grainy. The barista versions have added stabilizers made for exactly this, and my neighbor Carol, who can't do dairy anymore, swears the Oatly barista one is the only plant milk that froths like real milk.
Temperature matters as much as the milk itself. I heat mine on the stovetop in a small saucepan, or in the microwave in a tall glass for about 45 seconds, until it's steaming but not simmering, somewhere around 140 to 150 degrees if you want to check with a thermometer. Cold milk won't foam well with a handheld frother, it just doesn't have enough surface tension change happening. But if you boil it, you'll scald it, and scalded milk tastes faintly burnt and foams in big unstable bubbles instead of fine microfoam. Warm and steaming, not boiling, is the target. If you're not sure, the old trick works fine here too: if you can hold your hand on the side of the glass for only a couple seconds before it's too hot, it's about right. I keep a cheap candy thermometer clipped to a drawer specifically for this now, since guessing cost me a few scalded batches early on.
Step 2: Choose a tall, narrow container
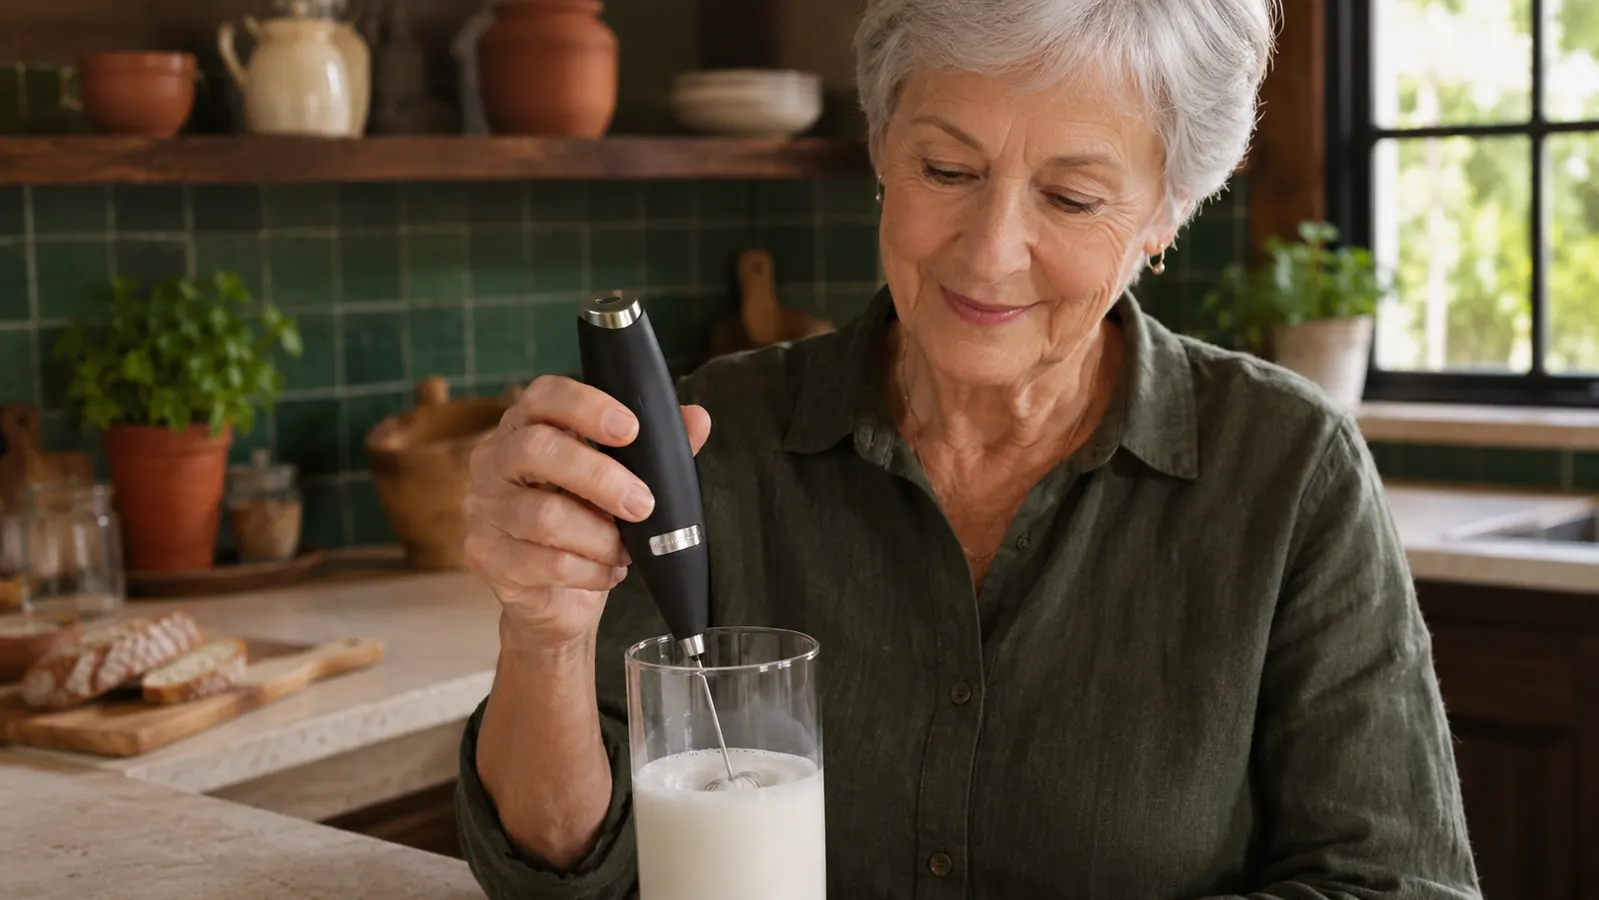
This is the step I got wrong for the first several tries. I started out frothing in a wide cereal bowl because it was sitting on the counter, and I got milk splattered across my backsplash and almost no real foam. A tall, narrow glass or a small metal frothing pitcher works far better. You want the milk deep enough that the whisk head stays submerged even as foam builds up, and narrow enough that the spinning motion actually creates a vortex instead of just splashing sideways.
I use a 12-ounce glass I keep specifically for this, filled about a third to halfway with milk. Milk expands significantly as it foams, sometimes doubling in volume, so don't fill past the halfway mark or you'll have foam spilling over the rim onto the counter. I learned that one the hard way too, twice, and the second time was worse because I'd just wiped the counter down for company. Now I mark the glass in my head, roughly two fingers of milk, and I've never overfilled it since.
Step 3: Angle the whisk and turn it on before it touches the milk
Turn the frother on first, then lower it into the milk. If you submerge it while it's off and switch it on underwater, you get a weird lurch and sometimes milk shoots up the sides of the glass. Start the motor, then dip the whisk head just below the surface, maybe a quarter inch down, at a slight angle rather than dead center. That off-center angle is what creates the little whirlpool that pulls air into the milk evenly, instead of just spinning in place and pushing milk straight up the middle. The Zulay whisk head is small enough that this angled dip feels natural almost immediately, even for someone like me who fumbled it the first few tries.
Hold it there, near the surface, for the first 15 to 20 seconds. This is where most of your foam actually forms, air getting folded into the milk right at that surface layer. You'll feel and hear the pitch change slightly as foam builds, it gets a little quieter and thicker-sounding, almost like the motor is working against something with a bit more resistance. That's your cue that it's doing its job, not a sign anything's wrong.

Step 4: Move the whisk deeper to heat and smooth the foam
After that first 15 to 20 seconds of surface work, lower the whisk deeper into the glass, most of the way to the bottom, and keep it running another 15 to 20 seconds. This second phase isn't about building more foam, it's about incorporating the bubbles you already made into the rest of the milk so you get a smooth, unified texture instead of a thin foam cap floating over plain warm milk underneath. This is the step that separates decent home foam from the kind you get at a real coffee shop, where the foam and the milk feel like one connected thing when you drink it, rather than two separate layers that go their own ways the moment you tip the mug.
Total time is usually 30 to 45 seconds for a full glass. My Zulay frother runs about two minutes on a charge before it starts to lag, which is more than enough for two or three lattes back to back, so I've never had it die mid-froth on me. If you're making drinks for a couple of people, do them one right after another rather than waiting, since the milk stays warm enough for a short stretch but cools fast once it's out of the pan or microwave. When my son and his wife visit, I'll heat one larger batch and froth it in two rounds rather than trying to stretch one glass across three mugs.
Step 5: Tap, swirl, and pour
Once you switch the frother off, set the glass down on the counter and tap it firmly against the counter two or three times. This pops the larger surface bubbles that don't belong in good foam, the ones that look like soap bubbles instead of tight microfoam. Then give the glass a gentle swirl, a few slow circles, to settle everything and bring any remaining big bubbles to the surface where a spoon can catch them. This tap-and-swirl step takes maybe ten seconds and it's the one people skip most often, then wonder why their foam looks uneven.
Pour your espresso or strong coffee into the mug first, then pour the milk in from a bit of height to start, lowering the glass closer to the mug as you go. Hold back the foam with a spoon for the first half of the pour if you want the classic layered look, then let it fall through at the end. If you don't care about the look and just want good foam on top, you can skip the technique and just pour it straight in, spoon the last bit of foam on top afterward. Either way works, one just looks nicer for a photo, and most mornings I'm not taking a photo, I'm just trying to sit down before my show starts.
What Else Helps
A few small things made a bigger difference than I expected once I started paying attention. First, clean the whisk head immediately after use, under running water with the frother still running for a few seconds. Dried milk residue on the wires is the single biggest reason people think their frother 'stopped working well' after a few months, when really it just needs a rinse. Second, fresh batteries matter more than you'd think. A frother running on tired AAs spins slower and produces weaker foam, and it's an easy thing to overlook since the motor still runs, just not at full speed. I keep a spare pair in the drawer next to it. Third, if your foam keeps collapsing fast, it's almost always the milk, not the technique. Switch to whole milk or a barista oat blend before you blame the tool.
One more thing worth knowing, since I asked myself this the first month I owned it: you don't need to buy a fancy frothing pitcher with a spout to get good results. A plain drinking glass does the job, and honestly it's easier to see the foam building through clear glass than through a metal pitcher anyway. I only switched to a small metal pitcher later because I liked how it poured, not because the glass wasn't working. And if your foam ever comes out with big uneven holes instead of that fine, tight texture, it usually means the whisk head was held too still in one spot instead of moved slowly between the two depths described above. A little gentle up and down motion during each phase helps more than holding it perfectly steady.
The frother is nine dollars and fits in a drawer. The technique is what actually makes the foam, and that part is free once you've done it a dozen times.
I'll admit the foam from a handheld frother isn't identical to what a commercial steam wand produces. It's slightly less silky, the microfoam isn't quite as fine, and you won't be doing elaborate latte art with it. But for a daily home latte or cappuccino, it gets remarkably close, close enough that I stopped stopping at the coffee shop on my way to my granddaughters' school on Tuesdays, and that alone paid for the thing about forty times over by now. It's also small enough that when my kitchen got smaller after I moved, it was one of the only appliances that made the cut without a second thought, right alongside the mini waffle maker I still use on weekends. Two winters in, my Zulay still runs like the day my daughter left it behind, and that's honestly more than I expected from something that cost less than a lunch out.
Ready to stop settling for flat, bubbly milk?
This is the exact handheld frother I use every morning for the method above. Small enough for a drawer, strong enough for real foam.
Amazon Check Today's Price on Amazon →